Viking Oven Not Getting Hot Enough: How to Fix It?
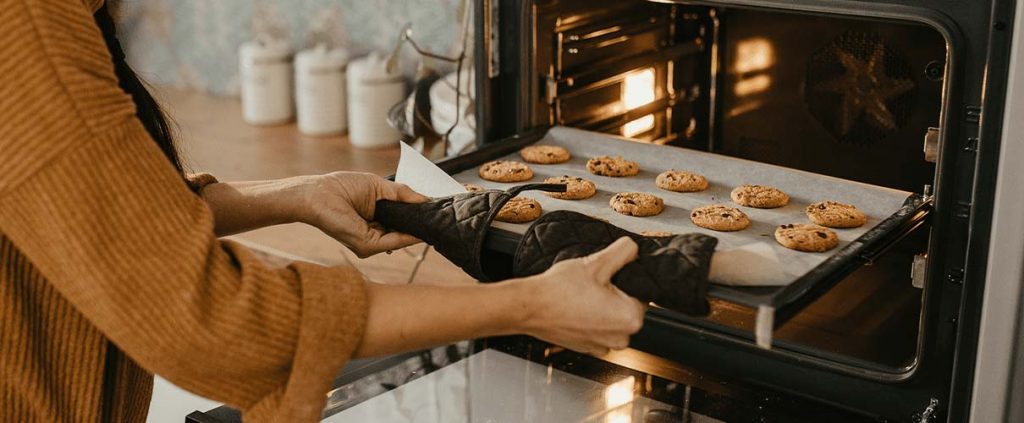
Are you frustrated with your Viking oven not reaching the desired temperature? Cooking is an art that relies on precise heat control, and a malfunctioning oven can hinder your culinary endeavors. It’s crucial to address this issue promptly for optimal cooking results and to ensure your dishes are cooked to perfection. In this blog, we will explore common causes behind the problem and guide you on how to fix it, allowing you to regain full control over your Viking oven’s heating capabilities. Let’s get started and bring back the joy of cooking!
Common Causes of Viking Ovens Not Getting Hot
There are several factors that can contribute to inadequate heating in Viking ovens. Understanding these common causes will help you diagnose and resolve the issue effectively. Here are a few potential culprits to consider:
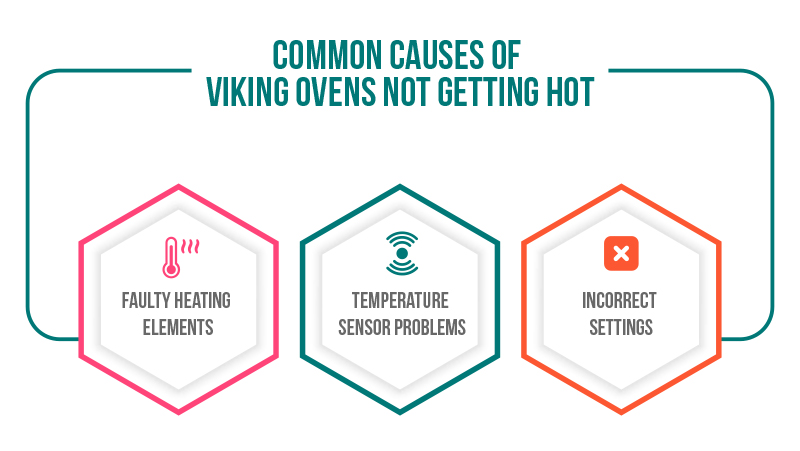
Faulty Heating Elements
A malfunctioning heating element can result in uneven or insufficient heat distribution. Over time, these elements may wear out or become damaged, affecting the oven’s ability to reach and maintain the desired temperature.
Temperature Sensor Problems
The temperature sensor plays a crucial role in monitoring the oven’s internal temperature. If it becomes faulty or inaccurate, the oven may not heat up to the set temperature. This can lead to undercooked or overcooked dishes.
Incorrect Settings
Sometimes, the issue may be as simple as incorrect settings. Check if the oven is set to the desired temperature and the correct cooking mode. Incorrect settings can prevent the oven from reaching the optimal heat level.
Troubleshooting Tips
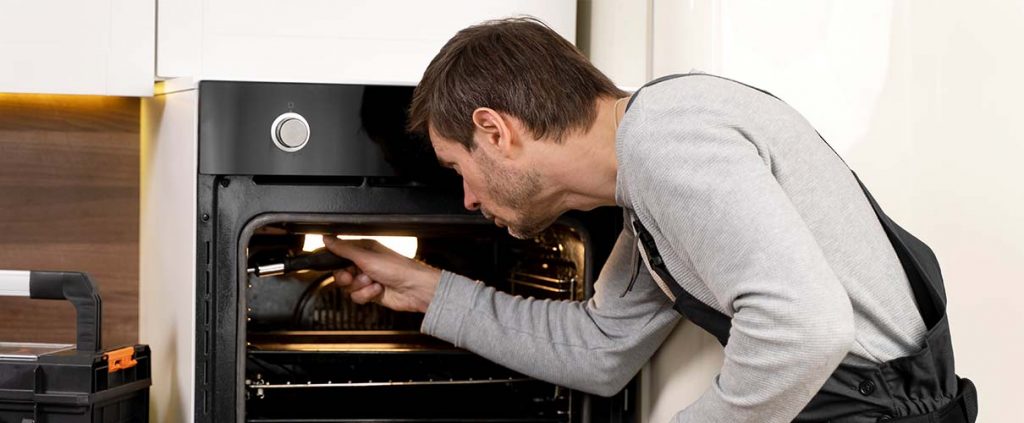
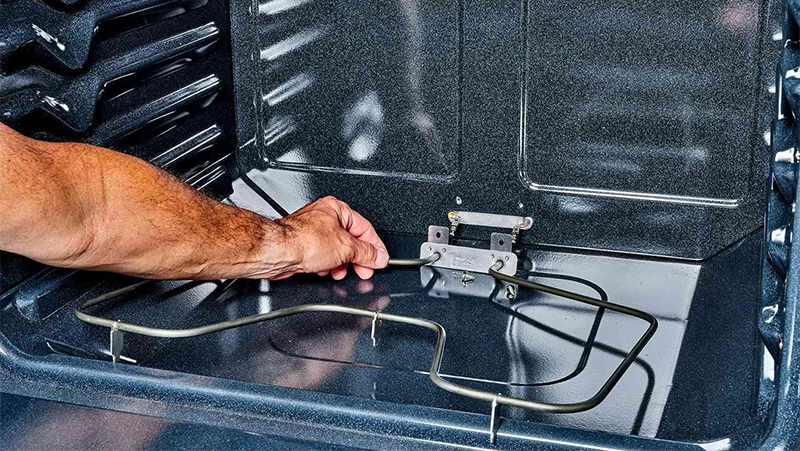
I. Heating Element Replacement
Begin by inspecting the heating elements in your Viking oven. Look for any signs of damage, such as visible cracks or burns. If you spot any issues, the heating element may need to be replaced. Consult the oven’s manual or contact a professional for guidance on replacing the heating element.
1. Safety Precautions: Before starting any repair work, ensure the oven is disconnected from the power source to prevent electrical shocks. Wear protective gloves and goggles for safety.
2. Accessing the Heating Elements: Locate the heating elements in your Viking oven. They are typically found at the top and bottom of the oven cavity. Remove any racks or obstacles that may be blocking access to the elements.
3. Inspection: Carefully inspect the heating elements for any visible signs of damage, such as cracks, burns, or breaks. Use a multimeter to test the continuity of the elements. If the multimeter shows no continuity, it indicates a faulty heating element that needs replacement.
4. Procuring Replacement Elements: Purchase the correct replacement heating elements compatible with your Viking oven model. Refer to the oven’s manual or contact the manufacturer for specific part numbers or recommended suppliers.
5. Installation: Follow the manufacturer’s instructions for installing the new heating elements. Generally, this involves disconnecting the electrical connectors from the old elements and removing any mounting screws or brackets. Install the new elements in reverse order, ensuring a secure connection and proper alignment.
6. Testing: After the replacement, reconnect the power and test the oven’s heating function. Set the oven to a desired temperature and observe whether it reaches and maintains the correct heat level. Monitor the performance for a few cycles to ensure consistent heating.
II. Temperature Sensor Calibration
Accurate temperature sensors are crucial for achieving precise and consistent heating in your Viking oven. If you notice temperature discrepancies or inconsistent cooking results, calibrating the temperature sensor can help resolve the issue. Here’s how to calibrate the temperature sensor:
1. Preheat the Oven: Start by preheating the oven to a standard temperature, such as 350°F (175°C). Allow the oven to reach the set temperature before proceeding.
2. Temperature Adjustment: Once the oven is preheated, check the temperature using an oven thermometer. Place the thermometer in the center of the oven cavity and monitor the reading. Take note of any variations between the set temperature and the thermometer reading.
3. Accessing the Calibration Function: Refer to your Viking oven’s manual to determine the specific steps for accessing the calibration function. Typically, this involves pressing a combination of buttons or navigating through the oven’s control panel menu.
4. Entering Calibration Mode: Follow the instructions to enter the calibration mode. This allows you to adjust the temperature reading displayed by the oven’s control panel.
5. Adjusting the Temperature: Use the oven’s control panel or buttons to adjust the temperature reading to match the actual temperature as indicated by the oven thermometer. Increase or decrease the calibration value as needed until the displayed temperature matches the measured temperature.
6. Verification: After making the calibration adjustment, run several temperature tests at different settings to ensure that the oven maintains the correct temperature consistently. Use an oven thermometer to verify the accuracy of the temperature readings.
III. Adjusting Oven Settings
Optimizing your Viking oven’s settings can enhance its heating performance and ensure consistent cooking results. Here are some ways to adjust oven settings for better heating:
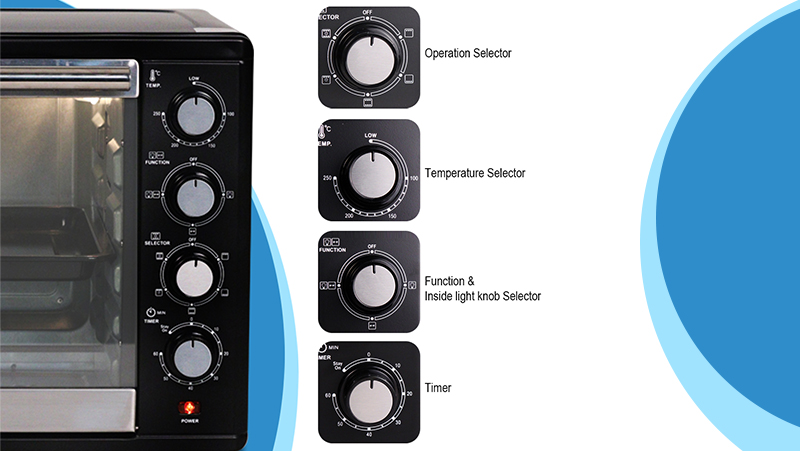
1. Oven Modes: Familiarize yourself with the different oven modes available, such as bake, broil, convection, or self-cleaning modes. Each mode has its specific purpose and temperature distribution. Choose the appropriate mode based on your cooking requirements.
2. Temperature Settings: Verify that you’re setting the desired temperature accurately. Use an oven thermometer to compare the displayed temperature with the actual temperature inside the oven. Adjust the temperature settings accordingly to compensate for any variations.
3. Preheating: Preheating the oven is essential to achieve the desired cooking temperature. Allow the oven to preheat fully before placing your food inside. This ensures that the oven cavity is evenly heated, leading to consistent cooking results.
4. Rack Positioning: The positioning of oven racks can affect heat distribution. For better heating, place your food on the middle rack, allowing hot air to circulate evenly around the dish. Adjust the rack positions based on the recipe’s instructions or your desired cooking outcome.
5. Ventilation: Ensure that the oven’s ventilation is not obstructed. Proper ventilation allows heat to escape and maintains a stable internal temperature. Check for any blockages or debris around the oven’s vents and keep them clear.
6. Timely Maintenance: Regularly clean and maintain your Viking oven to prevent any buildup of grease, residue, or debris. Dirty oven surfaces can affect heat transfer and compromise the oven’s performance. Follow the manufacturer’s guidelines for cleaning and maintenance.
Appliance Medic Viking Oven Repair Services in New York and New Jersey
When it comes to oven repair services, Appliance Medic is your trusted partner in restoring the functionality of your Viking oven. Our team of skilled technicians specializes in diagnosing and repairing a wide range of oven issues. Here’s what you can expect from our comprehensive oven repair services:
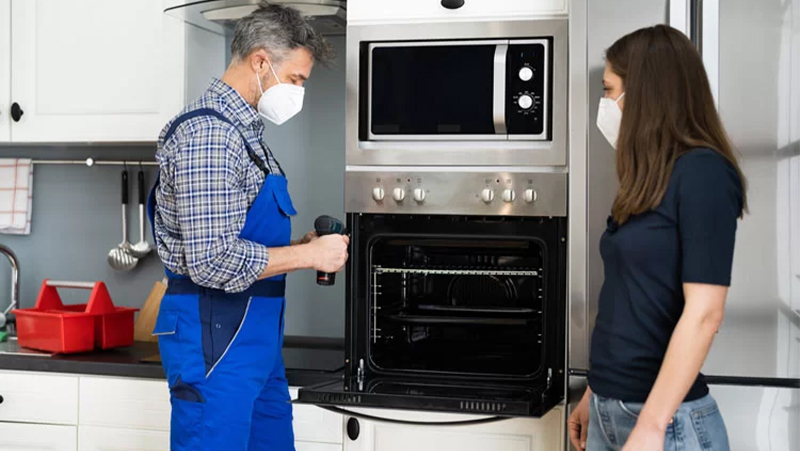
Thorough Diagnosis: Our technicians begin by conducting a thorough inspection of your Viking oven to identify the root cause of the problem. With their expertise and knowledge, they can pinpoint the specific issue affecting your oven’s heating performance.
Expert Repairs: Once the problem is identified, our technicians utilize their extensive experience and industry-leading tools to perform precise repairs. Whether it’s replacing faulty heating elements, repairing temperature sensors, or fixing control panel malfunctions, we ensure that all repairs are done with precision and care.
Genuine Parts: At Appliance Medic, we prioritize the use of genuine Viking replacement parts for repairs. This ensures compatibility, durability, and optimal performance of your oven. We source our parts from reputable suppliers to guarantee the highest quality and reliability.
Timely Service: We understand the inconvenience of a malfunctioning oven, which is why we strive to provide prompt and efficient repair services. Our technicians work diligently to complete the repairs in a timely manner, minimizing downtime and allowing you to get back to your regular cooking routine.
Professionalism and Customer Satisfaction: At Appliance Medic, we prioritize professionalism and customer satisfaction. Our technicians are courteous, respectful, and dedicated to delivering exceptional service. We take the time to address any questions or concerns you may have, ensuring your complete satisfaction with our repair services.
Warranty Coverage: We stand behind the quality of our work. That’s why we offer a warranty on both labor and installed parts for your peace of mind. If any issues arise after our repair service, simply reach out to us, and we will address them promptly and efficiently.